You are here: Books --> Effective Onscreen Editing 4th edition--> Word 2016 Chapter 3: Personalizing Your Software
Vous êtes ici : Livres --> Effective Onscreen Editing 4th edition --> Word 2016 Chapter 3: Personalizing Your Software
Chapter 3: Personalizing Your Software
“The reasonable man adapts himself to the world; the unreasonable one persists to adapt the world to himself. Therefore all progress depends on the unreasonable man.”—George Bernard Shaw (1856–1950)
Software and reference links for all versions of Word
This Web page contains instructions on the following subjects:
Adding or modifying toolbars and menus (Word 2011 only)
Arranging window positions (tiling windows)
Changing display settings
Changing keyboard settings
Changing text and icon size
Changing a window's size
Choosing the keyboard layout (adding a keyboard)
Creating new keyboard shortcuts
Customizing the Quick Access Toolbar
Customizing the Ribbon
Displaying the Styles palette
Dynamic style guides
Editing Word 2011's menus
Finding the preference panes
Macro for turning off the Asian grid setting
Managing styles and macros using the organizer
Mouse settings
Navigation Pane (Document Map) view
Outline view (an example)
Splitting a window into two panes
Using a CRT monitor
Working with traditional toolbars (Word 2011 only)
Adding or modifying toolbars and menus (Word 2011)
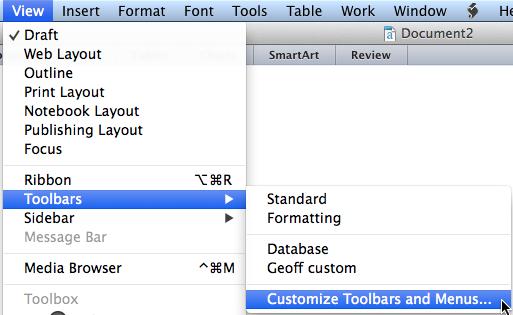
In Word 2011 for the Mac, you still had some control over toolbars. For details of the changes you can make in these toolbars, download (PDF) the document Adding or modifying toolbars. To choose which toolbars to display or customize their contents and properties, open the "View" menu and select "Toolbars", then "Customize Toolbars and Menus":
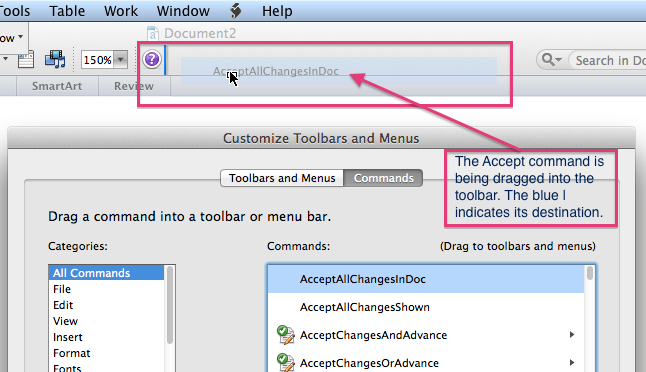
To add functions to or remove functions from a toolbar, first display the toolbar you want to modify, then display the "Customize" dialog box. From this dialog box, you can select a command with the mouse, hold down the left mouse button, and drag it into the desired position in the toolbar:
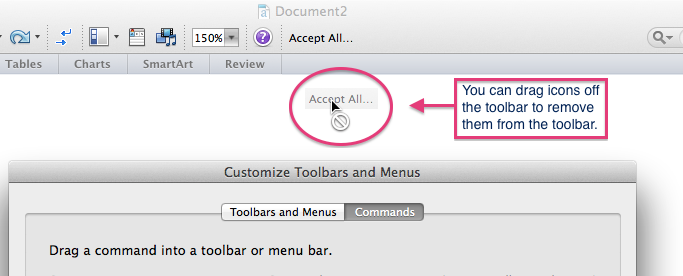
With the Customize dialog box open, you can also drag icons around to change their position within the toolbar, or drag them out of the toolbar to remove them from the toolbar:
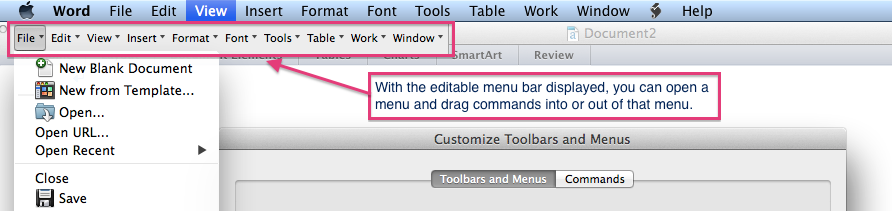
Similarly, you can open individual menus (here, the File menu) and drag items into and out of the menus:
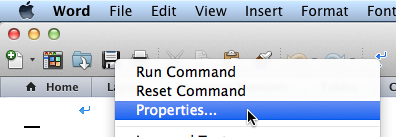
To change a command's icon or tooltip, right-click on the icon and select "Properties":
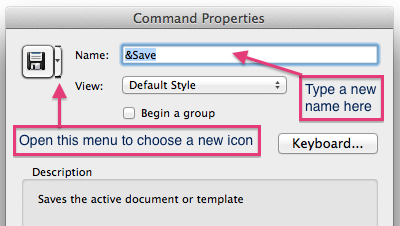
From the "Command Properties" dialog box, you can now change the icon or the tooltip (retain the "&" at the start of the name) that appears when you hold the mouse cursor over the icon:
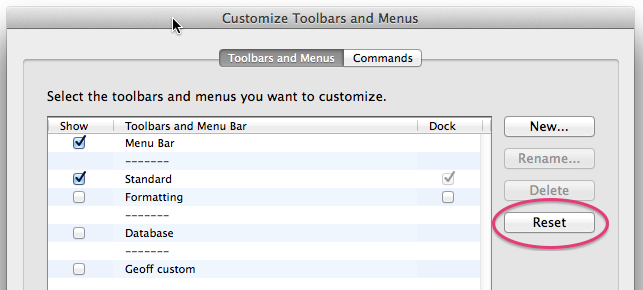
If you mess up the menus or toolbars, you can reset them to Microsoft's original settings by clicking the "Reset" button in the "Customize Toolbars and Menus" dialog box:
Arranging window positions (tiling windows)
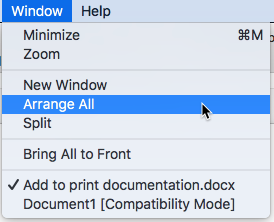
To automatically divide the screen among multiple windows, open the "Window" menu and select "Arrange All":
Changing display settings
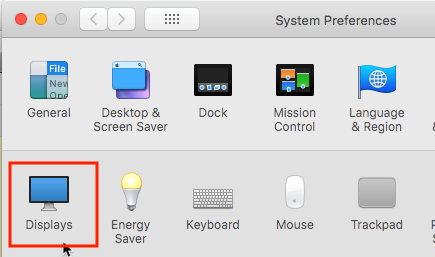
Open the System Preferences and select the "Displays" control panel:
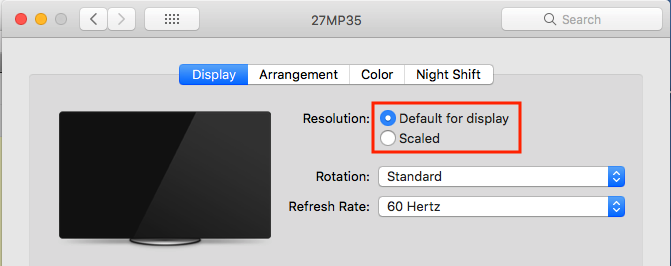
To change the display resolution (and the refresh rate if your monitor supports multiple rates) select the "Display" tab. Choose "Default for display" to automatically choose a suitable setting, or "Scaled" if you want to try a different resolution:
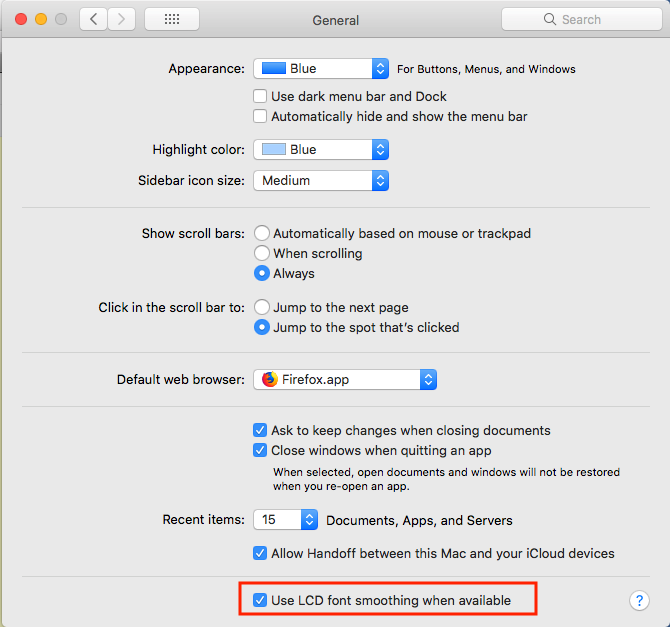
To select font smoothing ("antialiasing"), open the "General" preference pane:

Select the option "Use LCD font smoothing when available":
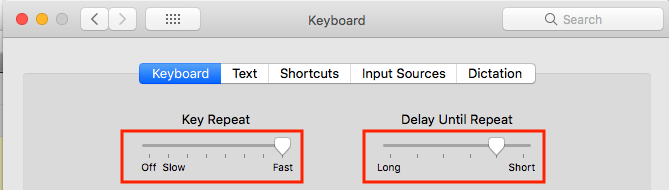
Changing keyboard settings
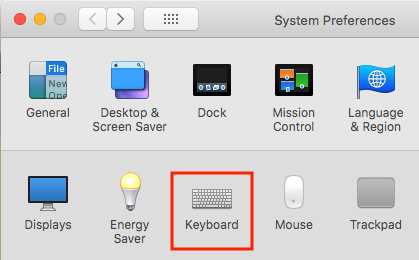
Open the System Preferences and select the Keyboard preference pane:
Set the keyboard delay and repeat rates:
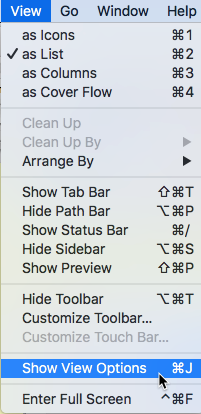
Changing text and icon size
In the Finder, open the View menu and select "Show view options", or right-click on the desktop and choose this from the menu:
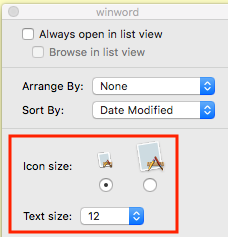
Choose the icon and text size from the resulting dialog box:
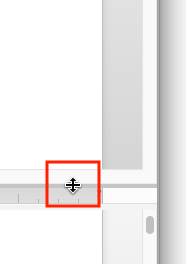
Changing a window's size
To change the window's size, move the mouse cursor over the edge of the window until it changes to a double-headed arrow. Here's an example of what that looks like at the bottom right side of the document window:
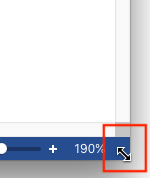
Hold down the left mouse button, and drag the window until it reaches the desired size. You can resize windows this way and then drag them into new positions
Choosing the keyboard layout (adding a keyboard)
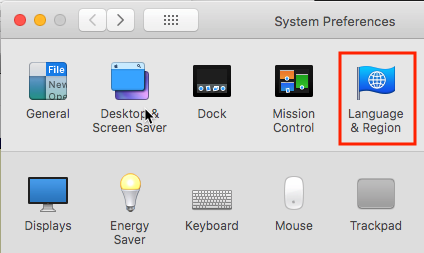
Open the System Preferences and select the Language and Region control panel:
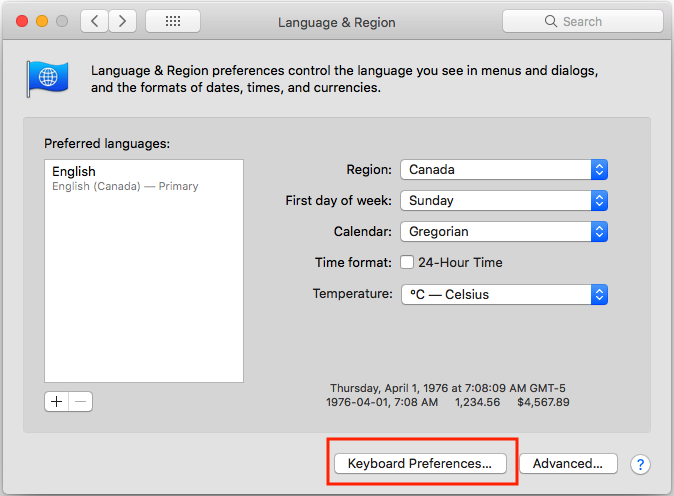
Click the "Keyboard Preferences" button:
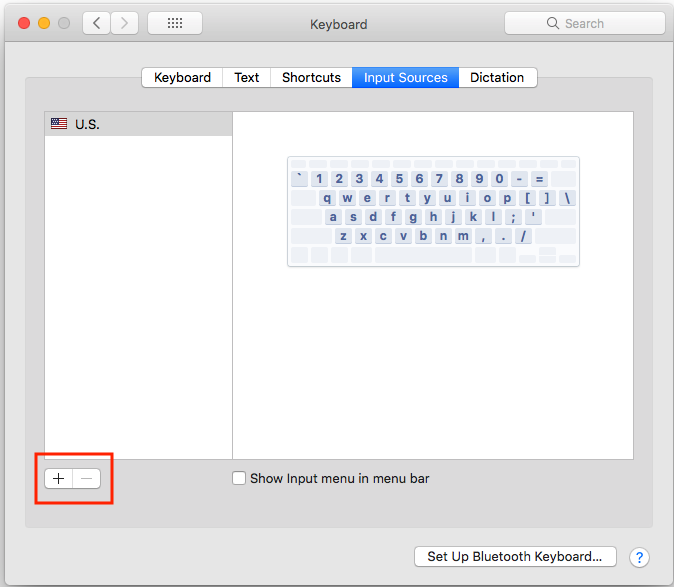
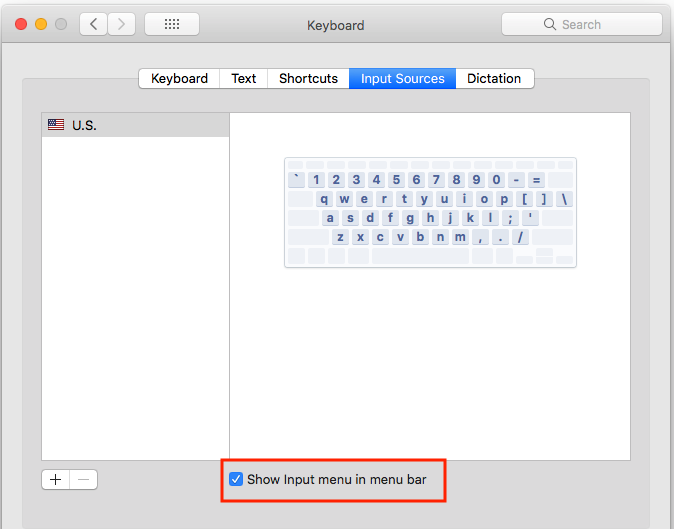
Select the "Input Sources" tab, then click the [+] button to display a list of keyboard layouts:
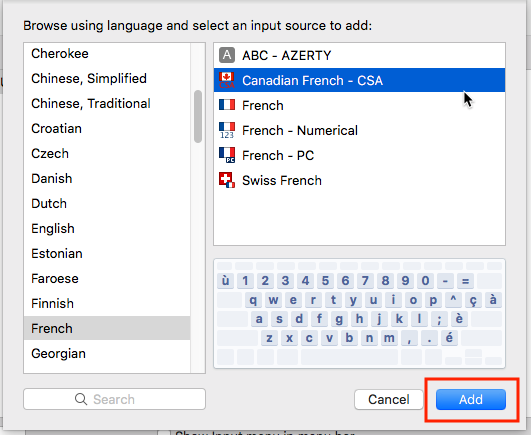
Note that the "Show Input menu in menu bar" checkbox is not selected. (We'll return to that menu in the next step.) Select the desired layout (e.g., Canadian French) and click the "Add" button to install that keyboard layout:
To make your list of added keyboards available from the Finder's menu bar in all programs, select the "Show input menu in menu bar" checkbox:
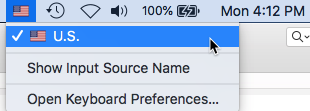
The Input menu will now appear at the top right side of your menu bar (here, with the U.S. English keyboard selected):
Creating new keyboard shortcuts
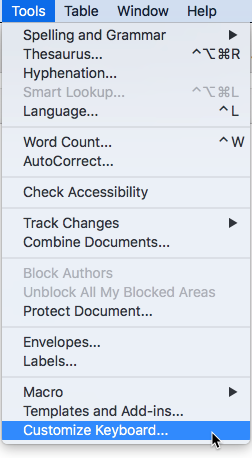
To create or modify keyboard shortcuts, open the "Tools" menu and select "Customize Keyboard":
From the "Customize Keyboard" dialog box, select the desired category of command and the desired command under that category. You can then type a new keyboard shortcut and specify where it should be saved:
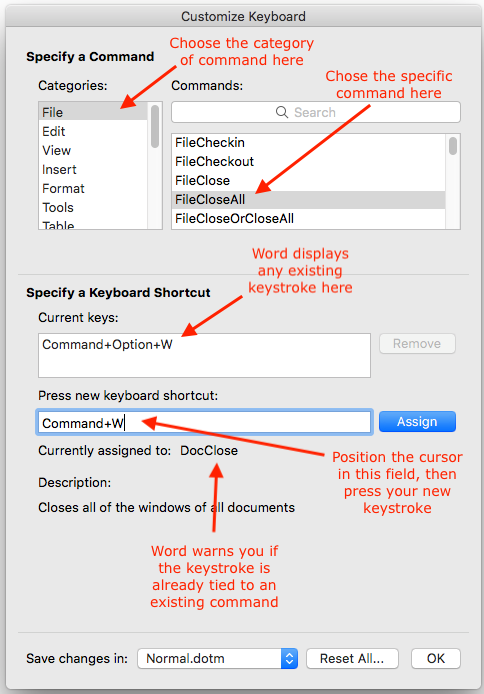
Click the "Assign" button to assign that keystroke to the command, then click "OK" to close the dialog box.
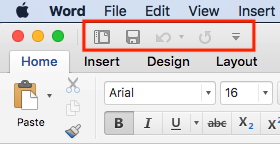
The Quick Access Toolbar replaces the custom toolbars provided by older versions of Word. It's located at the top left of Word's interface, below the menus and above the ribbon:
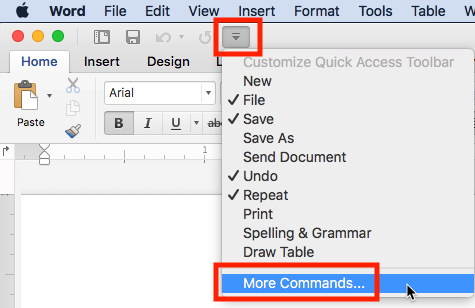
Unlike in Windows Word, you can't reposition this toolbar. To customize the toolbar, click the downward-pointing arrow at the right of the toolbar to display a menu of options. You can add any command present in the menu by selecting it, or select "More Commands" to gain access to a larger set of options:
To add or remove icons from the toolbar, select the "Quick Access Toolbar" tab. Under the heading "Choose commands from", choose a category, or "All commands" if you know the name of the command but aren't sure which category to look under. To add the command to the toolbar, select the command name and click the [>] button:

Conversely, to remove a command from the toolbar, select its name and then click the [<] button. To change the positions of commands within the toolbar, simply drag the command name to the desired position.
To change a command's name (not available for built-in commands), select the command, click the gear icon to display a menu, and select "Rename":

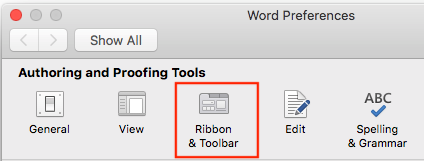
To customize the Ribbon, you'll need to have signed up for Office 365, which I haven't done. Thus, I've borrowed the screenshots from Windows Word. The basic details should be the same. First, open the "Word Preferences" and select the "Ribbon & Toolbar" control panel:
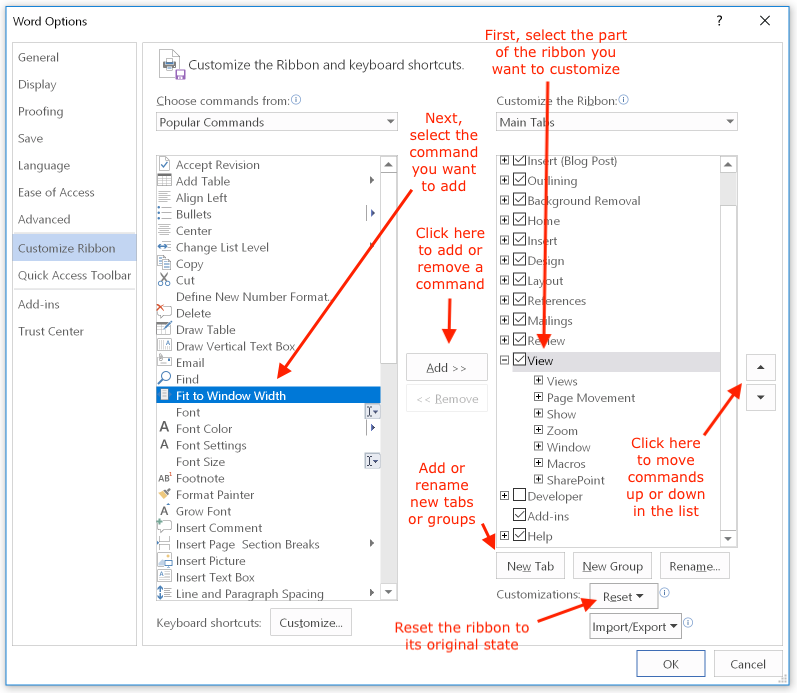
The following image is taken from Windows Word, but should resemble the details for Mac Word. To add commands to or remove them from the Ribbon, start by selecting the tab (here, "View") and group that you will modify. Click the "Add" button to add the command to the Ribbon, or the "Remove" button to remove the command. You can use the arrows to change a command's position within its group, and you can create and rename tabs and groups:
Displaying the styles palette
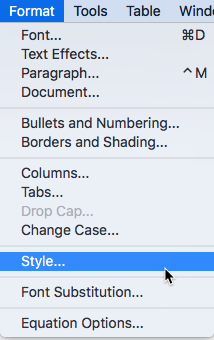
To display the "Styles" palette, open the "Format" menu and select "Style":
Alternatively, select the Ribbon's "Home" tab, and click the "Styles Pane" icon at the far right side:

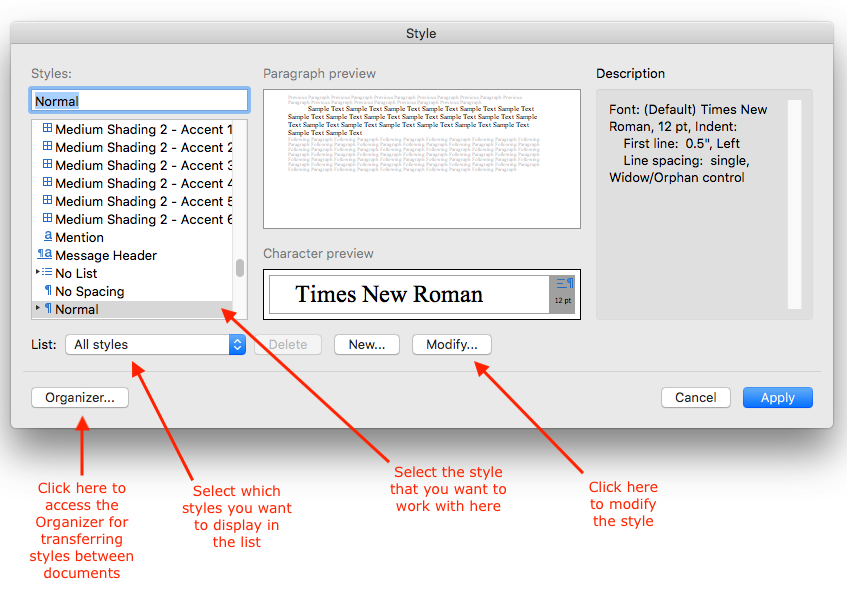
In the "Style" dialog box, you can specify which styles should be displayed, create new styles, or select an existing style and click the "Modify" button to access and modify its characteristics:
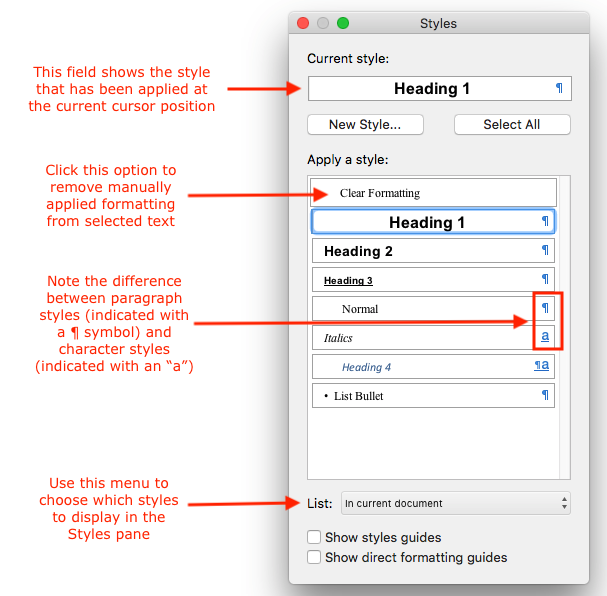
In the "Styles" dialog box, note the difference between the paragraph styles (¶) and character styles (a):
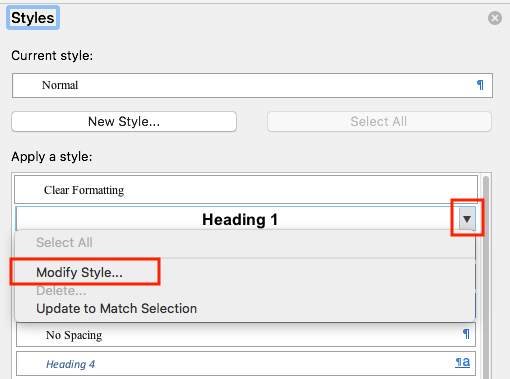
To modify a style, move the cursor over the ¶ or a symbol at the right side of the style until it changes to a menu button, Then select "Modify Style":
You now have access to all of the usual tools for formatting text.
Dynamic style guides
The purpose of creating a dynamic style guide is to integrate the style guidance with how writers and editors work. For a discussion of how this might work, see The style guide is dead: long live the dynamic style guide.
Editing Word 2011's menus
For Mac-based editors who are still using Word 2011, I've provided a small guide on how to customize Word's menus. Download Editing Word 2011's menus (PDF) for details.
Finding the preference panes
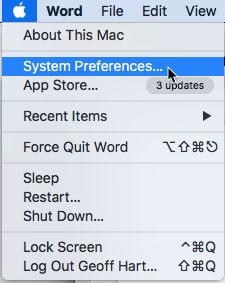
You can access the Macintosh control panesl (preference panes) from the Apple menu:
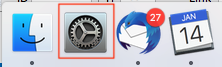
You can also access the Preferences from the Dock (though the icon's position will differ if you customized your Dock):
Macro for turning off the Asian grid setting
See Chapter 10 for details of how to copy this text into a new macro.
Sub TurnOffGrid2()
' TurnOffGrid2 Macro
ActiveDocument.PageSetup.LayoutMode = wdLayoutModeDefault
End Sub
Managing styles and macros using the organizer
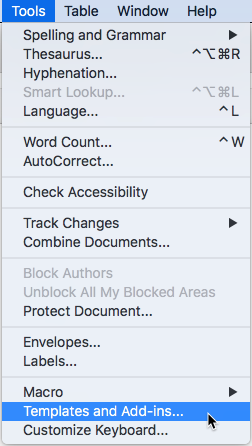
To display the style and macro organizer, open the "Tools" menu and select "Templates and Add-ins":
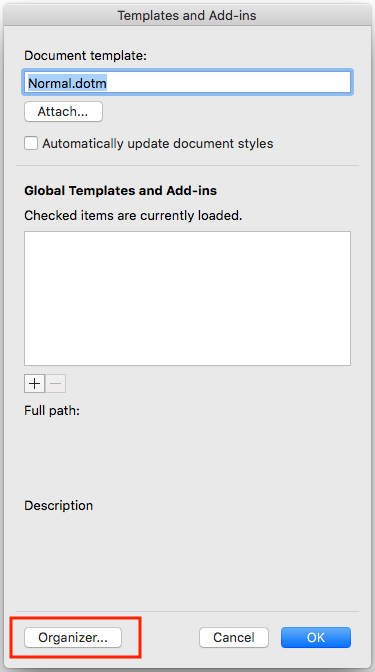
Next, click the Organizer button:
From the Organizer, select the category of things you want to organize and the specific item you want to transfer between document (here, the "Styles" category and the "Heading 1" style). Select the source and destination documents, and click the "Copy" button to transfer a copy of the style to the destination document:
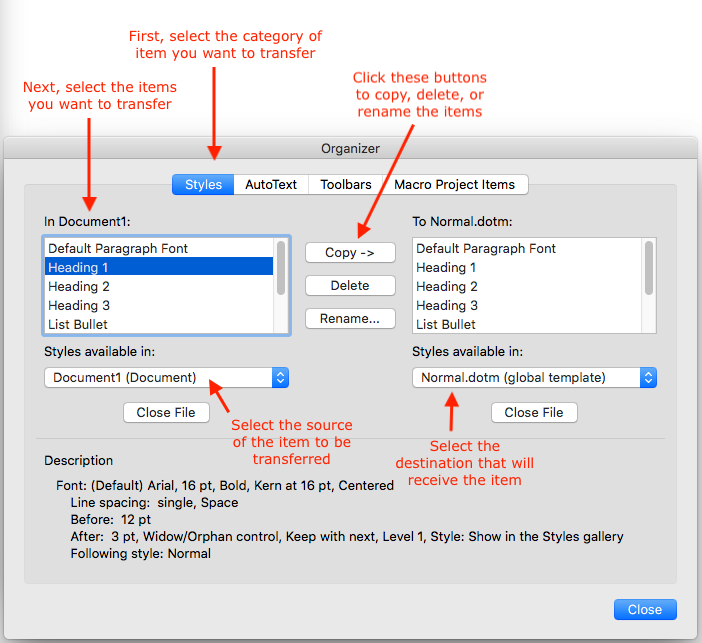
You can copy existing items to a new document, rename them, or delete existing items from within this dialog box.
Mouse settings
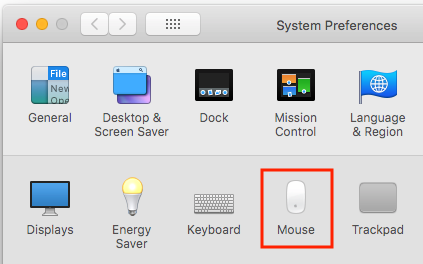
Open the System Preferences and select the Mouse control panel:
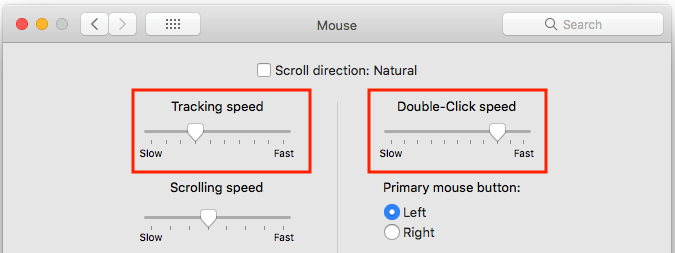
Set the tracking and double-click speeds:
Navigation Pane (Document Map) view
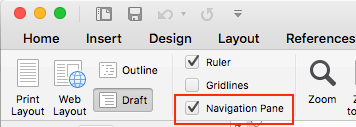
In the Ribbon's View tab, select the Navigation Pane checkbox:
Select the Document Map tab. The navigation pane looks like this:
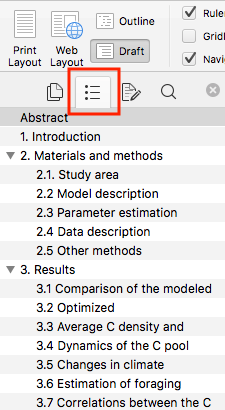
Click any heading to move to that heading.
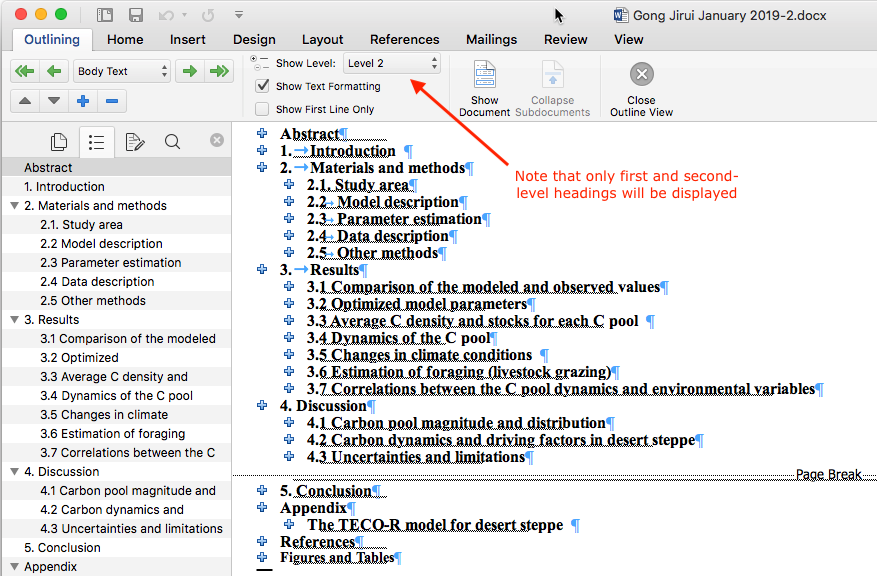
Outline view (an example)
Here's an example of what a document looks like in "Outline" view, with only heading levels 1 and 2 showing:
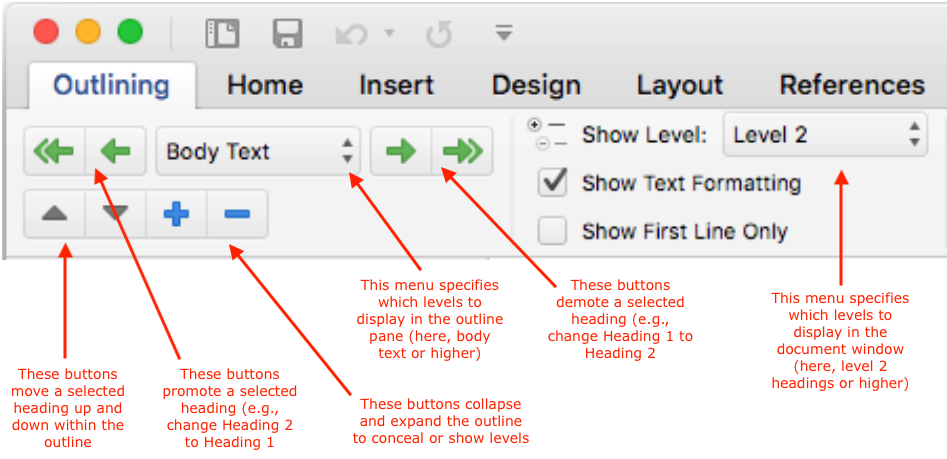
The Outline view toolbar provides several additional options:
Splitting a window into two panes
To split a window into two panes, open the "Window" menu and select "Split":

Once the document has been split into two panes, this menu command changes to "Remove split". If you hold the cursor over the line that represents the division between the two panes created by the split, it will turn into a double-headed cursor (here, at the bottom right of the top pane) that you can drag to resize the two panes:
Using a CRT monitor
Most editors now use an LCD monitor. If you're still using a CRT monitor, download Working with CRT monitors (PDF) for some tips.
Working with traditional toolbars (Word 2011 only)
To choose which toolbars to display or customize their contents and properties, open the "View" menu and select "Toolbars":
To add functions to or remove functions from a toolbar, first display the toolbar you want to modify. With the "Customize Toolbars and Menus" dialog box open, you can select a command with the mouse, hold down the left mouse button, and drag it into the desired position in the toolbar:
With the "Customize Toolbars and Menus" dialog box open, you can also drag icons around to change their position within the toolbar, or drag them out of the toolbar to remove them from the toolbar:
Similarly, you can open individual menus (here, the "File" menu) and drag items into and out of the menus:
To change a command's icon or tooltip, right-click on the icon and select "Properties":
From the "Command Properties" dialog box, you can now change the icon or the tooltip (retain the "&" in its name) that appears when you hold the mouse cursor over the icon:
If you mess up the menus or toolbars, you can reset them to Microsoft's original settings by clicking the "Reset" button in the "Customize Toolbars and Menus" dialog box:
©2004–2025 Geoffrey Hart. All rights reserved.