You are here: Books --> Effective Onscreen Editing 4th edition --> Word 2016 Chapter 11: Editing in Special Situations
Vous êtes ici : Livres --> Effective Onscreen Editing 4th edition --> Word 2016 Chapter 11: Editing in Special Situations
Chapter 11: Editing in Special Situations
Hocine bibo aut in eum digitos insero? (Do I drink this or stick my fingers in it?)—Henry Beard, Latin for all Occasions
Software and reference links for all versions of Word
This Web page contains instructions on the following subjects:
Changing the creator's or reviewer's name for a document
Inserting symbols
Inserting text from a file
Keystroke shortcuts for typing special characters (PDF file)
Macro to change the color of HTML tags
Remove color applied to HTML tags
Right Angels and Polo Bears blog
Turning off the Asian character grid and installing Asian fonts
Changing the creator's or reviewer's name for a document
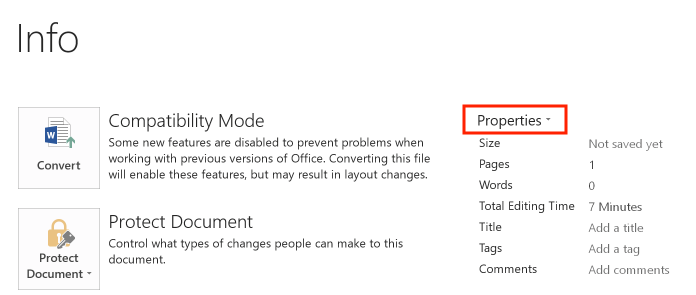
To change the name recorded as the creator of a document, open the "File" menu and select "Info". In the information dialog box, click the arrow beside the "Properties" heading to display various options:
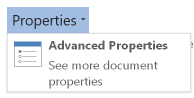
From the "Properties menu", select the "Advanced Properties" option:
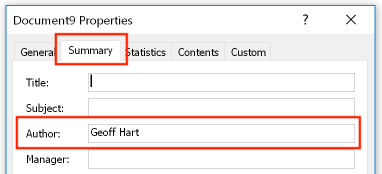
In the "Document [name] Properties" dialog box, select the "Summary" tab, then enter a new author name in the "Author" field:
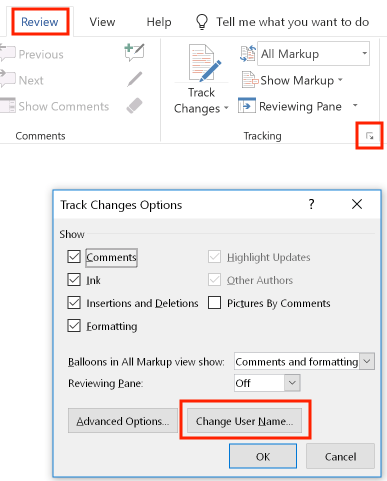
To change the reviewer's name, select the Ribbon's "Review" tab. Click the tiny icon at the bottom of the revision tracking options, and in the "Track Changes Options" dialog box, click the "Change User Name" button:
Inserting symbols
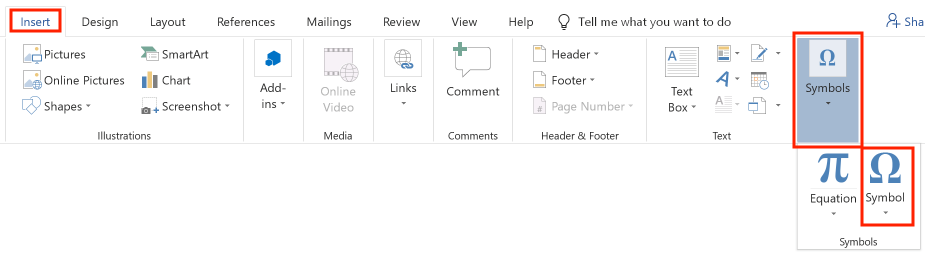
To insert a symbol, select the Ribbon's "Insert" tab, open the menu beside the "Symbols" icon, and then select "Symbol":
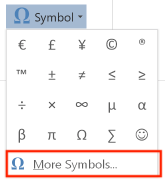
If the symbol that you want is not displayed, click "More Symbols" to display the full symbols palette:
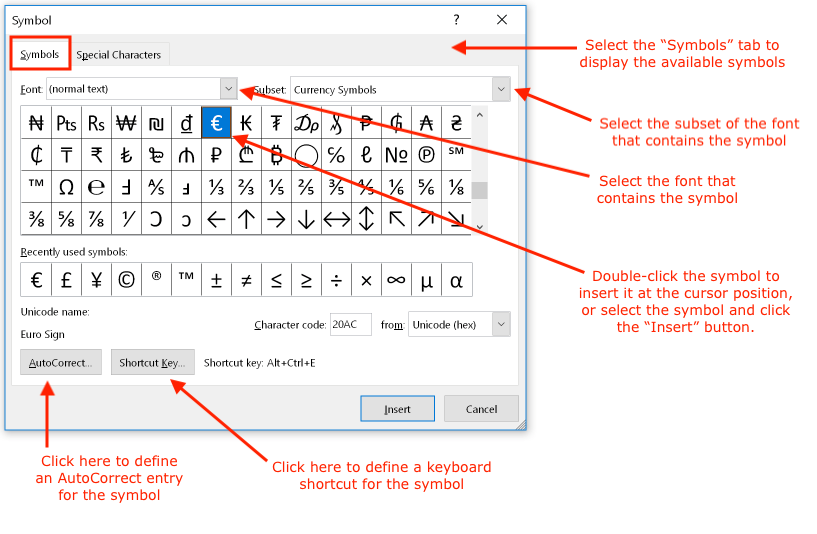
From the "Symbol" palette, you can select symbols and special characters from any font or subset of a font, insert them, and define AutoCorrect entries (see Chapter 10 for details) or keyboard shortcut (see Chapter 3 for details) for the symbol:
Inserting text from a file
In the Ribbon's "Insert" tab, open the Object icon's menu and select "Text from file":

Macro to change the color of HTML tags
Copy the text of this macro into Word's macro editor following the instructions in Chapter 11:
Sub ColorHTMLtags()
' ColorHTMLtags Macro
' Macro recorded 2/9/08 by Geoff Hart
'
Selection.Find.ClearFormatting
Selection.Find.Replacement.ClearFormatting
Selection.Find.Replacement.Font.Color = wdColorGray25
With Selection.Find
.Text = "[<]*[>]"
.Replacement.Text = "^&"
.Forward = True
.Wrap = wdFindContinue
.Format = True
.MatchCase = False
.MatchWholeWord = False
.MatchWildcards = True
.MatchSoundsLike = False
.MatchAllWordForms = False
End With
Selection.Find.Execute Replace:=wdReplaceAll
End Sub
If you prefer a lighter or darker color for the tags, change the "25" in "wdColorGray25" to a larger or smaller number (greater than 0 and less than 100).
Remove color applied to HTML tags
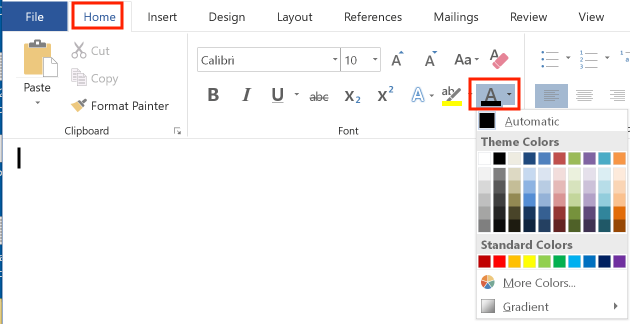
If you've applied a color (e.g., light grey) to the HTML tags so you can edit the document with less risk of damaging the tags, you may also want to remove the color when you're done. To do so, first turn off revision tracking. Next, select the whole document (Control+A). Select the Ribbon’s "Home" tab, open the menu beside the font color icon, and then select “Automatic” to restore the color defined by the paragraph and character styles:
Right Angels and Polo Bears blog
Adrienne Montgomerie's Right Angels and Polo Bears blog provides an ongoing series of useful articles on editing, including onscreen editing. Adrienne also offers courses in editing PDF files.
Turning off the Asian character grid and installing Asian fonts
If you have installed support for Asian languages and need to turn off the grid that is used to align Asian characters, select the Ribbon's "Layout" tab and click the "Document Grid" icon .Unfortunately, because I haven't installed Asian Language Support in my Windows version of Word, I can't provide a screenshot.
If you want to install Asian font, to improve the screen display, consult Microsoft's article “Add East Asian fonts in Windows 10 for use with Office documents".
If you have not installed support for Asian languages and still want to turn off the document grid, try the following macro (see Chapter 10 for details on how to copy macros):
Sub TurnOffGrid()
‘ TurnOffGrid Macro
ActiveDocument.PageSetup.LayoutMode = wdLayoutModeDefault
End Sub
©2004–2025 Geoffrey Hart. All rights reserved.