You are here: Books -->Write Faster--> Online stuff --> Chapter 6 links and screenshots
Vous êtes ice : Books --> Write Faster --> Online stuff --> Chapter 6 links and screenshots
Chapter 6. Use Styles and Templates
Is something missing or wrong? Please contact me and I’ll fix the problem.
This page contains the following subjects:
Assigning keyboard shortcuts to styles
Open the File menu and select "Options". Select the "Customize Ribbon" tab, then click the "Keyboard" button:

In the "Customize Keyboard" dialog box, select the appropriate category (here, "Styles"), and select the desired style from the "Commands" list (here, Normal). Under "Current keys", Word will display any keyboard shortcuts already applied to that Style. If you don't see one, or want to change the existing shorcut, click the mouse cursor under "Press new keyboard shorcut", then click the "Assign" button to bind it to that style. Finally, specify where Word should save this change (e.g., Normal.dotm if you want the keyboard shortcut to be available in all files on your computer).

Defining a style's outline level
To define where a style will appear in Outline view, edit the style's properties. First, select the Ribbon's "Home" tab and open the tiny menu at the bottom right of the "Styles" group:

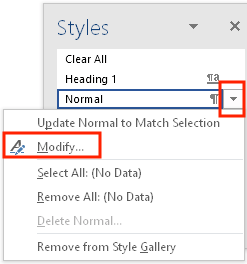
Select a style (here, "Normal") and click the menu icon (triangle) at the right of the style name to display a menu of options. Select "Modify":
Open the "Format" menu and select "Paragraph":

Open the "Outline level" menu and select where the style should appear in the outline:

Organizer dialog box
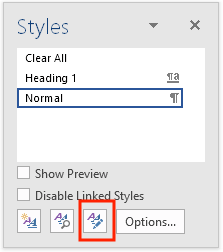
To gain access to the Organizer dialog box, select the Ribbon's "Home" tab and open the tiny menu at the bottom right of the "Styles" group:
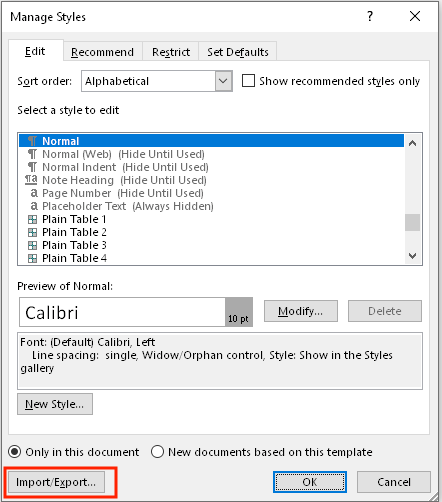
Click the "Manage styles" button at the bottom of the dialog box:
Click the "Import/Export" button:
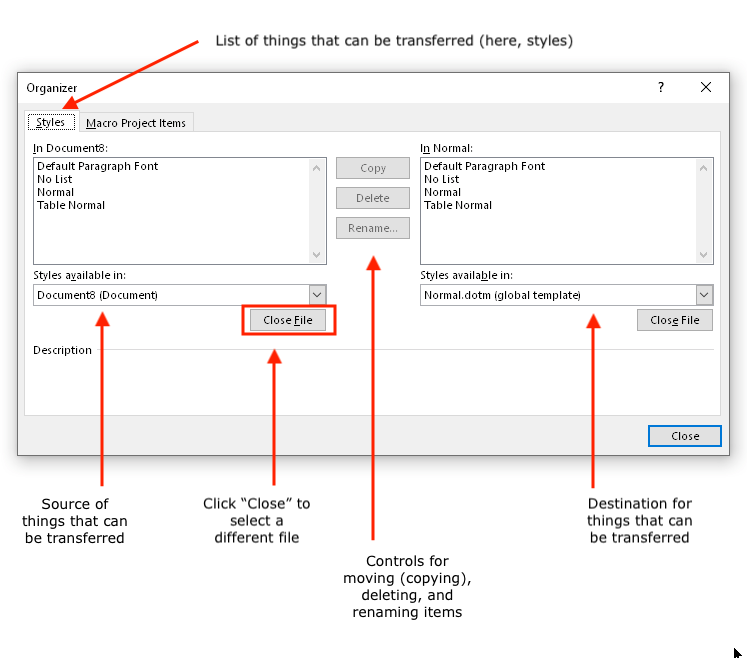
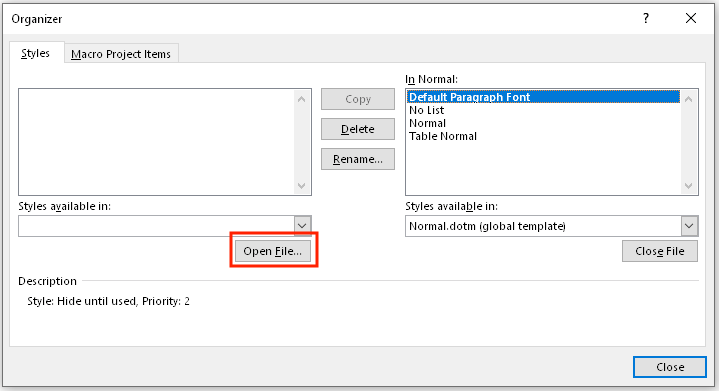
The Organizer dialog box lets you choose which things you want to move between files (here, styles), the source of the transfer (on the left), and the destination of the transfer (on the right). To choose different source and destination files, click the "Close File" button:
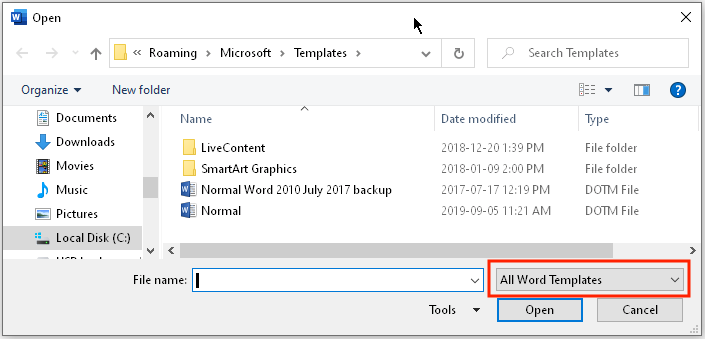
Click the "Open" button and navigate to the new file:
If Word won't let you choose a specific file, open the file types menu. You can now select which types of files Word should make available for modification using the Organizer:
Styles palette
To open the Styles palette, select the Ribbon's "Home" tab and open the tiny menu at the bottom right of the "Styles" group:
The Styles palette displays the style that has been applied at the current cursor position (here, "Normal"), a list of the styles available to apply to the text, and a menu that lets you specify which styles to be applied. Note that normal is a paragraph style (indicated by the ¶ symbol after the style name). To modify a style's properties, move the cursor above the style name until a menu triangle appears. Click the triangle to reveal the options, including "Modify Style":
Turn off "automatically update from template"
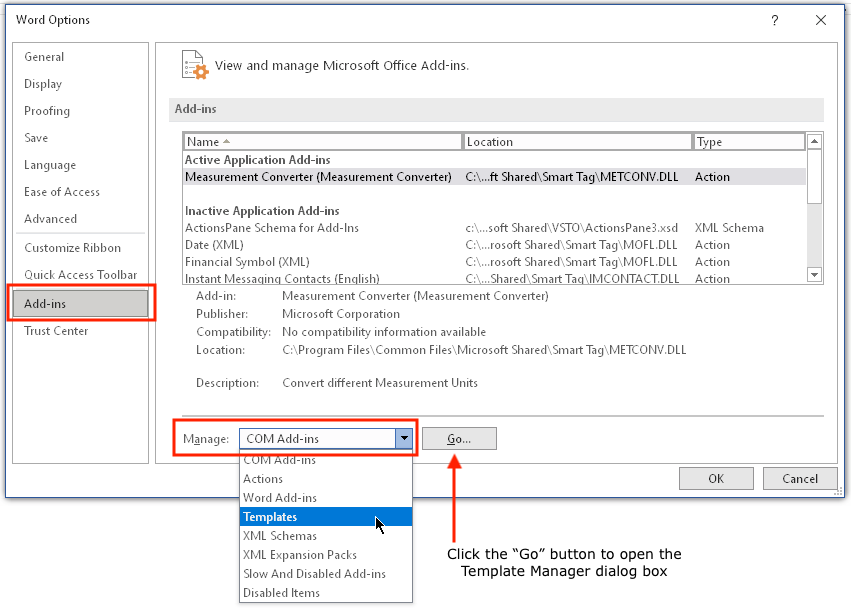
If Word changes style properties without being asked, odds are good this is because the "automatically update from template" checkbox has been selected. To disable these updates, open the "File" menu and select "Options". In the "Options" dialog box, select the "Add-ins" tab, and from the Manage menu, select "Templates". Click the "Go" button to open the Template Manager:
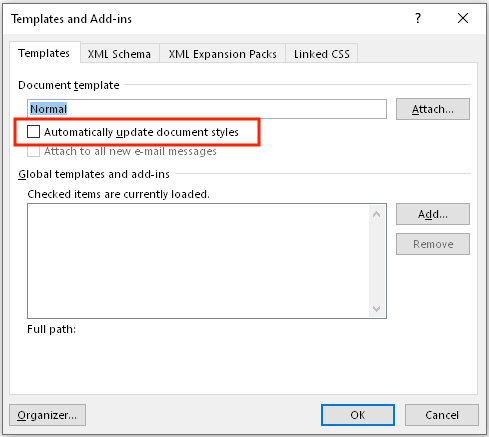
In the "Templates and Add-ins" dialog box, deselect the "Automatically update document styles" checkbox:
©2004–2025 Geoffrey Hart. All rights reserved.